Installation Instructions:

Mywoodwall are FSC certified real wood wall panels that you simply peel and press to transform your space into your style. Mywoodwall panels attach to almost any surface and grip instantly, so you can create your feature wall, ceiling, or furniture in no time and with little to no mess.

PDF Download

Recently Painted Walls

If the wall has been recently painted, wait approximately 3 days before applying the mywoodwall™ paneling to ensure that the surface is completely dry.

Designed for Interior Use

mywoodwall™ paneling is designed to be used for non-flooring, interior applications only. The Panels are not weather resistant nor structural

Installation must be indoors and the temperature must between 65*F – 85*F (18*C – 30*C).

Do not install directly next to intense heat sources.

Natural Wood Product

Before installing mywoodwall™ paneling, allow the panels to acclimate at room temperature and humidity for minimum of 3 days.mywoodwall™ paneling is not recommended to be installed in locations where the humidity is exceedingly high or can become excessively wet.

mywoodwall™ paneling is a natural wood product, so cracks and splits can occur if the panels are not handled properly. Because this is a natural product, the presence of knots, bark, splits, etc, should be expected. If a particular feature is not desired, simply cut it out before installing the panel on the wall.

Non-Toxic Finishes

mywoodwall™ paneling exceeds consumer safety regulations.  We only use water base finishes to ensure mywoodwall™ is safe – even in a nursery

1 – Before you start
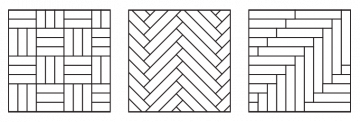
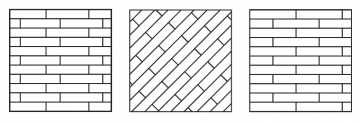
You need a flat surface to transform, mywoodwall panels, a level, a pencil, a tape measure, a roller, and a saw.

Mywoodwall sticks best to surfaces that are flat, smooth, clean and dry.

Take a before picture of your project

2 – Plan Layout

It is important to understand how you want the panels to look on the wall.  Play around with different angles, patterns, and layouts on the floor until you determine what best suits your space.

Mix and match different mywoodwall™  paneling combinations of color and grain to suit your needs.

Layout ideas below –  be creative, have fun with it!

3 – Draw Reference Line

Using a light pencil or chalk, draw a straight line on your wall to help position the first mywoodwall™ panels.

TIP

4 – Installing Reference Row

Layout is determined, reference line is drawn, now simply “Peel & Press” to install the first piece along the reference line.

Continue to Peel & Press above and below the reference line until the row is complete.  Once you reach a desired border, measure your remaining space, and use a saw to make the cut.


Install Tip

5 – Finish your wall

Now you will be able to fill in the rest of the wall quickly and easily. Press the panels down firmly as you go using the roller. To cut panels for edges or to fit around electrical outlets, use a miter box and hand saw or a power saw if you have it and in no time at all your wall will be finished.

6 – Finishing Touches

Allow 48 hours to let the constructive foam mount adhesive to fully set and relax while you choose which wall to decorate next.

Check out our available Trim and Touch Up Paint accessories to complete your project.

Take an after picture of your project….share via social media @mywoodwall