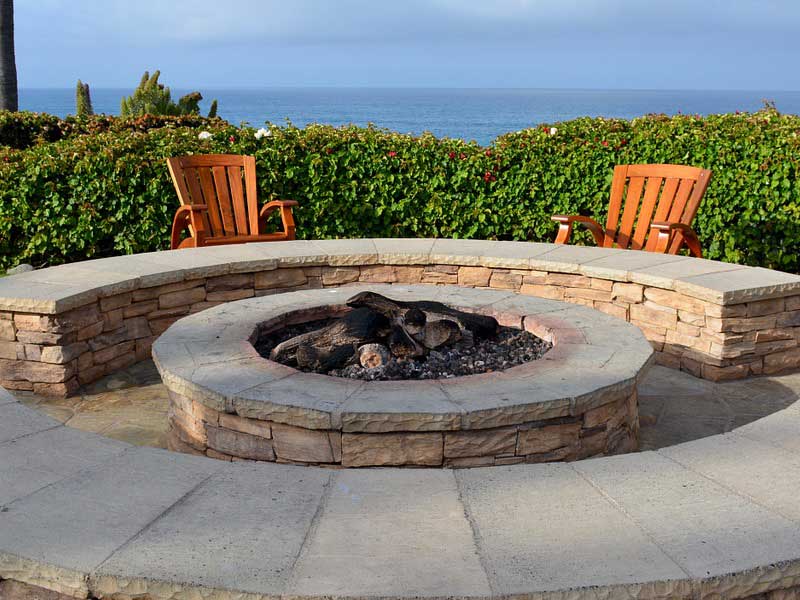
TOOLS AND MATERIALS TO BUILD YOUR OWN FIRE PIT
Here’s what you need:
- Stones. I used cast concrete wall stones, but you could also use quarried stone.
- Gravel
- Sand
- Tape measure
- Steel rake
- Shovel or digging spade
DIRECTIONS
Here’s what you do:
1. MARK THE SPOT
First, choose a spot away from the house and garage and not under any hanging branches.
Use a measuring tape and small stakes to mark where you want the fire pit to go. I made mine 40 inches in diameter, which is right in the middle of the recommended 36-44 inches.
2. DIG IT UP
Use a shovel or digging spade (my preference) to dig out about 18 inches of soil. The circle doesn’t have to be perfect, but try to make the sides fairly straight up and down, not too sloping.
3. LAY GRAVEL FOR DRAINAGE
Fill the hole about one-third full with gravel.
4. ADD SAND
Add a layer of sand on top of the gravel to about 4 inches from the top of the hole. Level the sand. I used the back of a rake.
5. LAY THE FIRST COURSE OF STONES
Lay the first course of stones on top of the sand. It’s okay to have some spaces between the stones. In fact, it’s a good thing because it adds to the airflow, and you need good airflow for a roaring fire.
6. LAY FOUR MORE COURSES OF STONES
Stagger the second layer so the joints between these stones are not right on top of the joints of the first course. This makes the walls stronger. Do the same with three more courses, for a total of five courses.
You could use fewer courses; just make sure the wall rises at least a foot above the surrounding ground. One foot is the minimum height – I feel safer with it a little higher.
7. PLAY IT SAFE
Now it’s time to light the fire. It’s a good idea to wet the ground around the fire pit and keep a hose or bucket of water nearby, just in case.
ENJOY YOUR FIRE PIT
There’s nothing better than sitting around a fire on a clear summer night. Well, maybe it’s a little better if you toast marshmallows or roast hot dogs while you’re sitting there. In any case, you’ll be glad you took the time to build your fire pit.

More about Robert Bridgman
Robert is the home & garden editor of Bridgman, manufacturers of luxury outdoor furniture. When he is not writing, he enjoys undertaking DIY projects around his home in London, UK. He also loves finding new ideas online and sharing his findings on Google+.

